Curious about how Mogryat can help you build your next app? You don't need to create an account to explore. Our interactive demo lets you experience the full product development workflow in just a few clicks.
What You'll Learn
In this guide, we'll walk you through:
1. How to access the demo project
2. Navigating the project dashboard
3. Understanding the AI-generated product brief
4. Exploring the architecture recommendations
5. Using the feedback system
Let's dive in!
Step 1: Access the Demo
From our homepage, click the "View Demo Project" button. No email, no password — just one click.
This creates a temporary demo session where you can explore all features freely. Your demo session includes a pre-populated sample project so you can see real outputs.
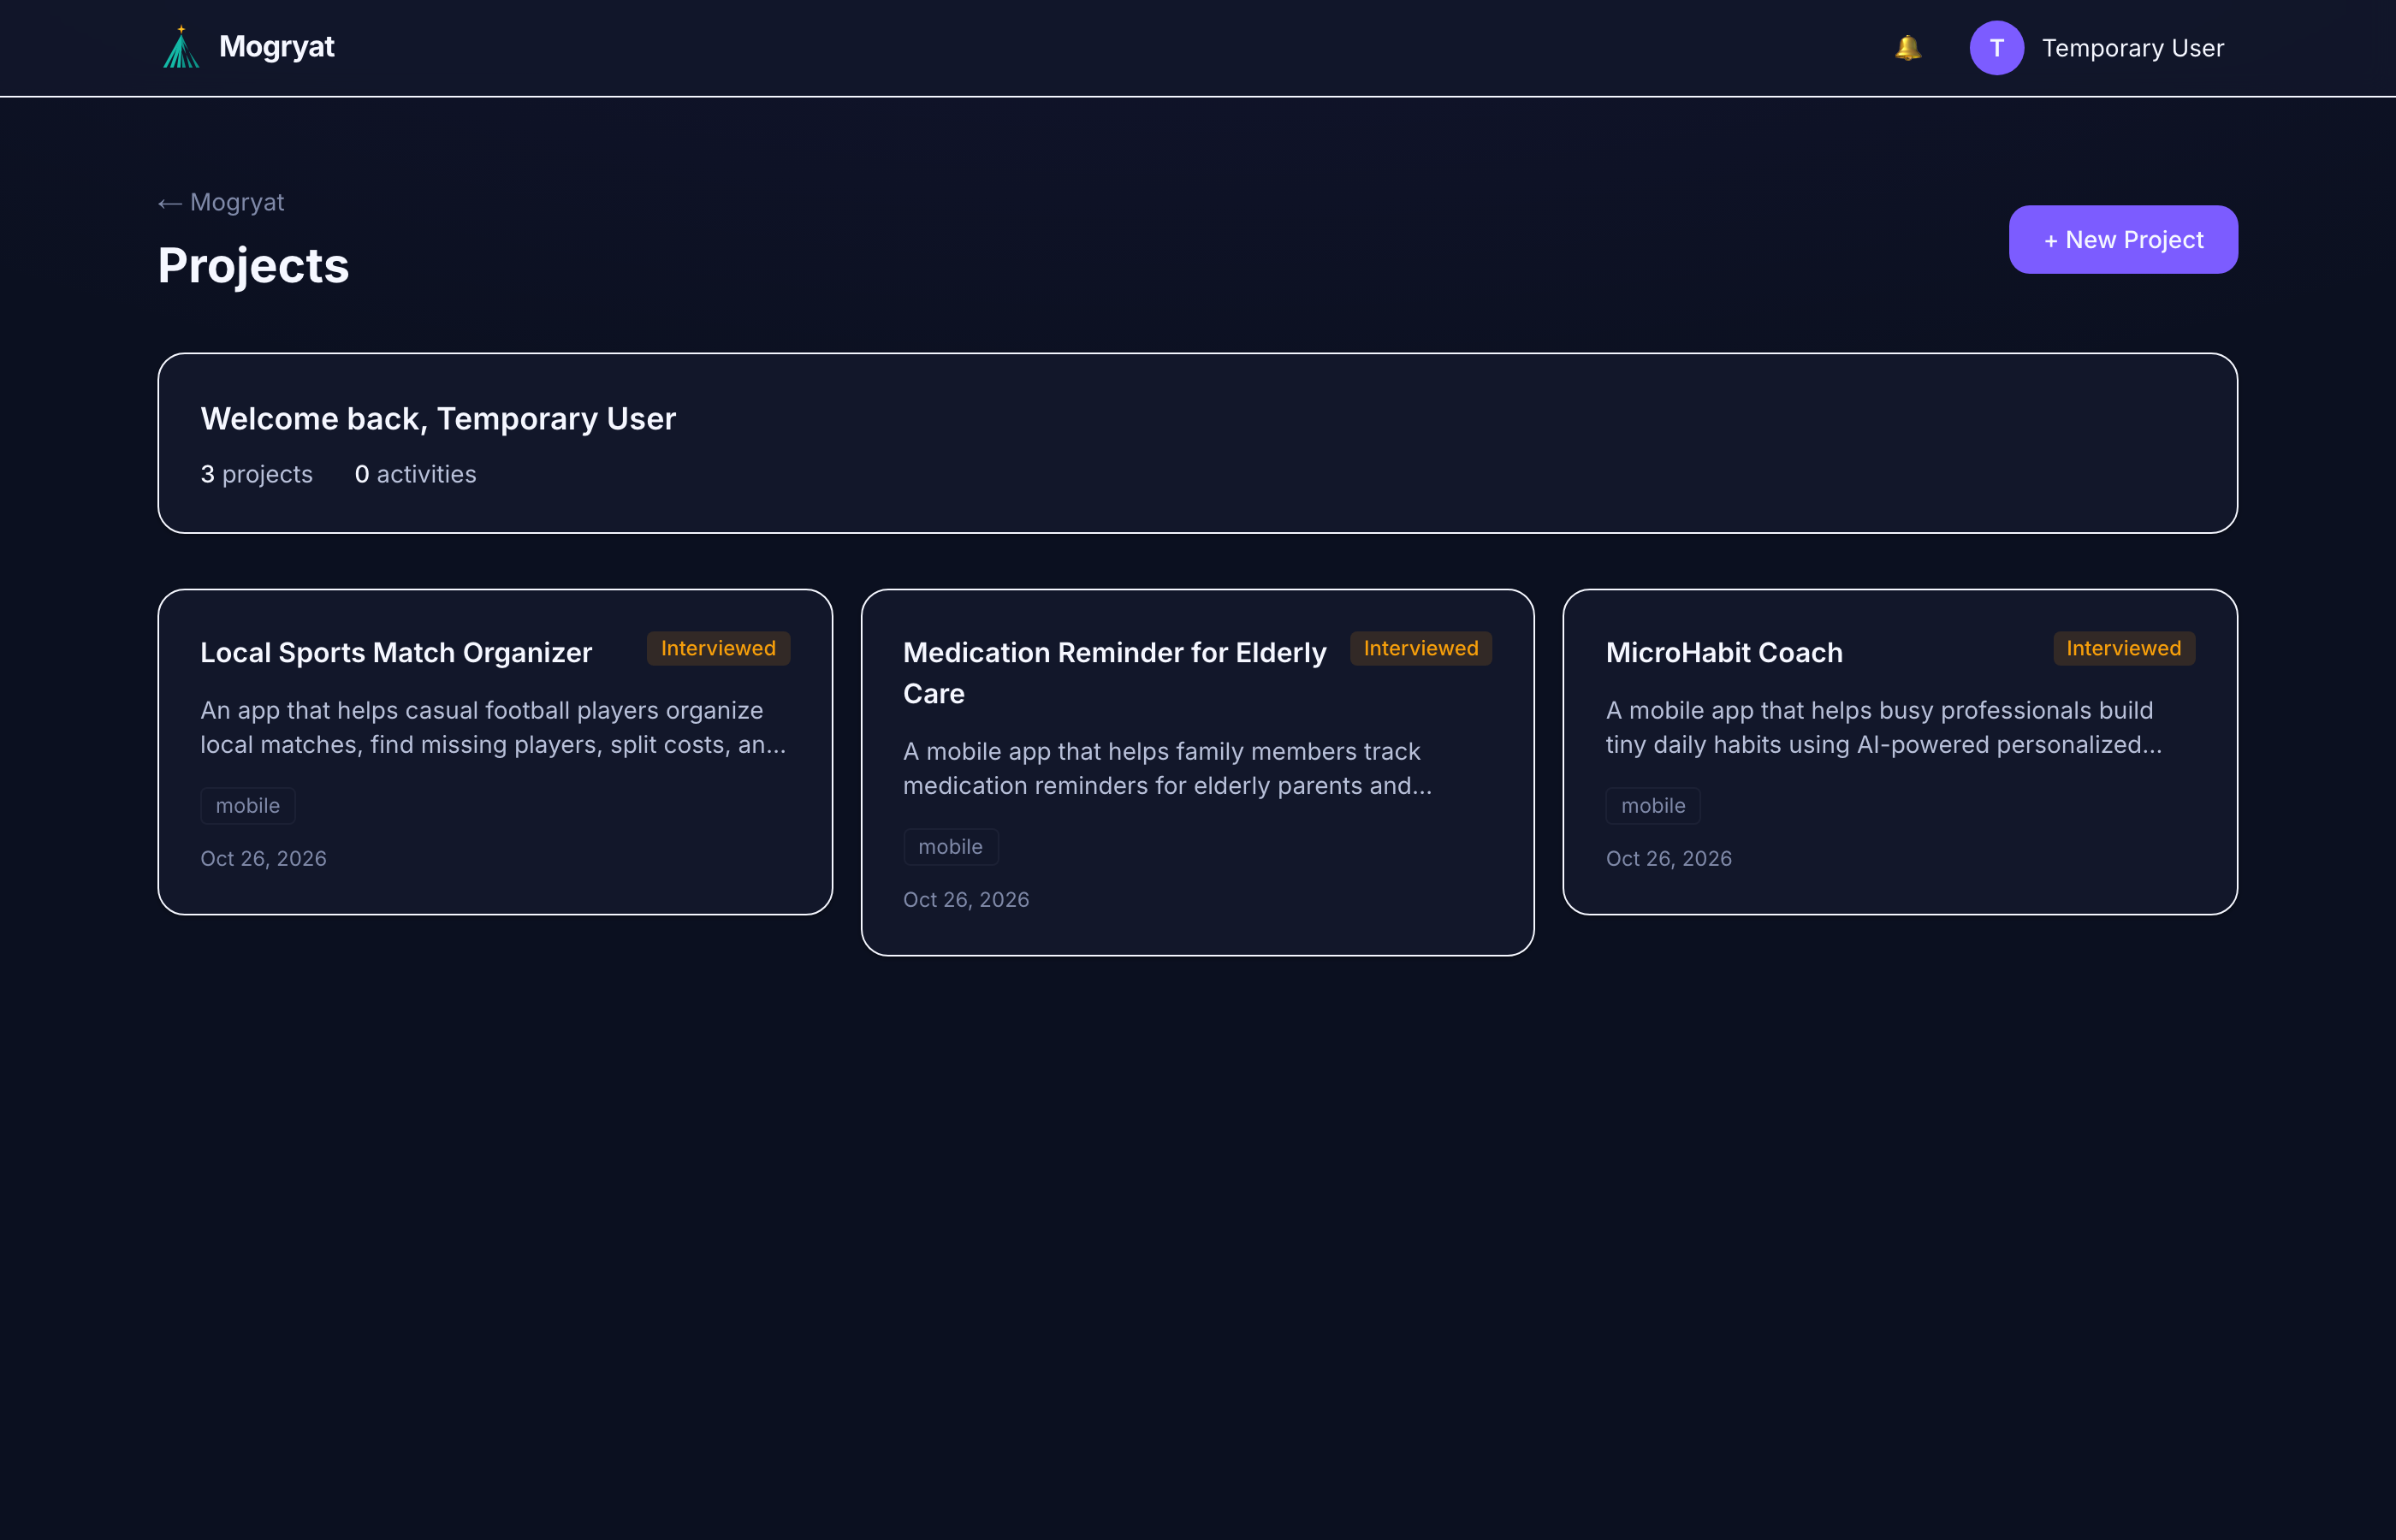
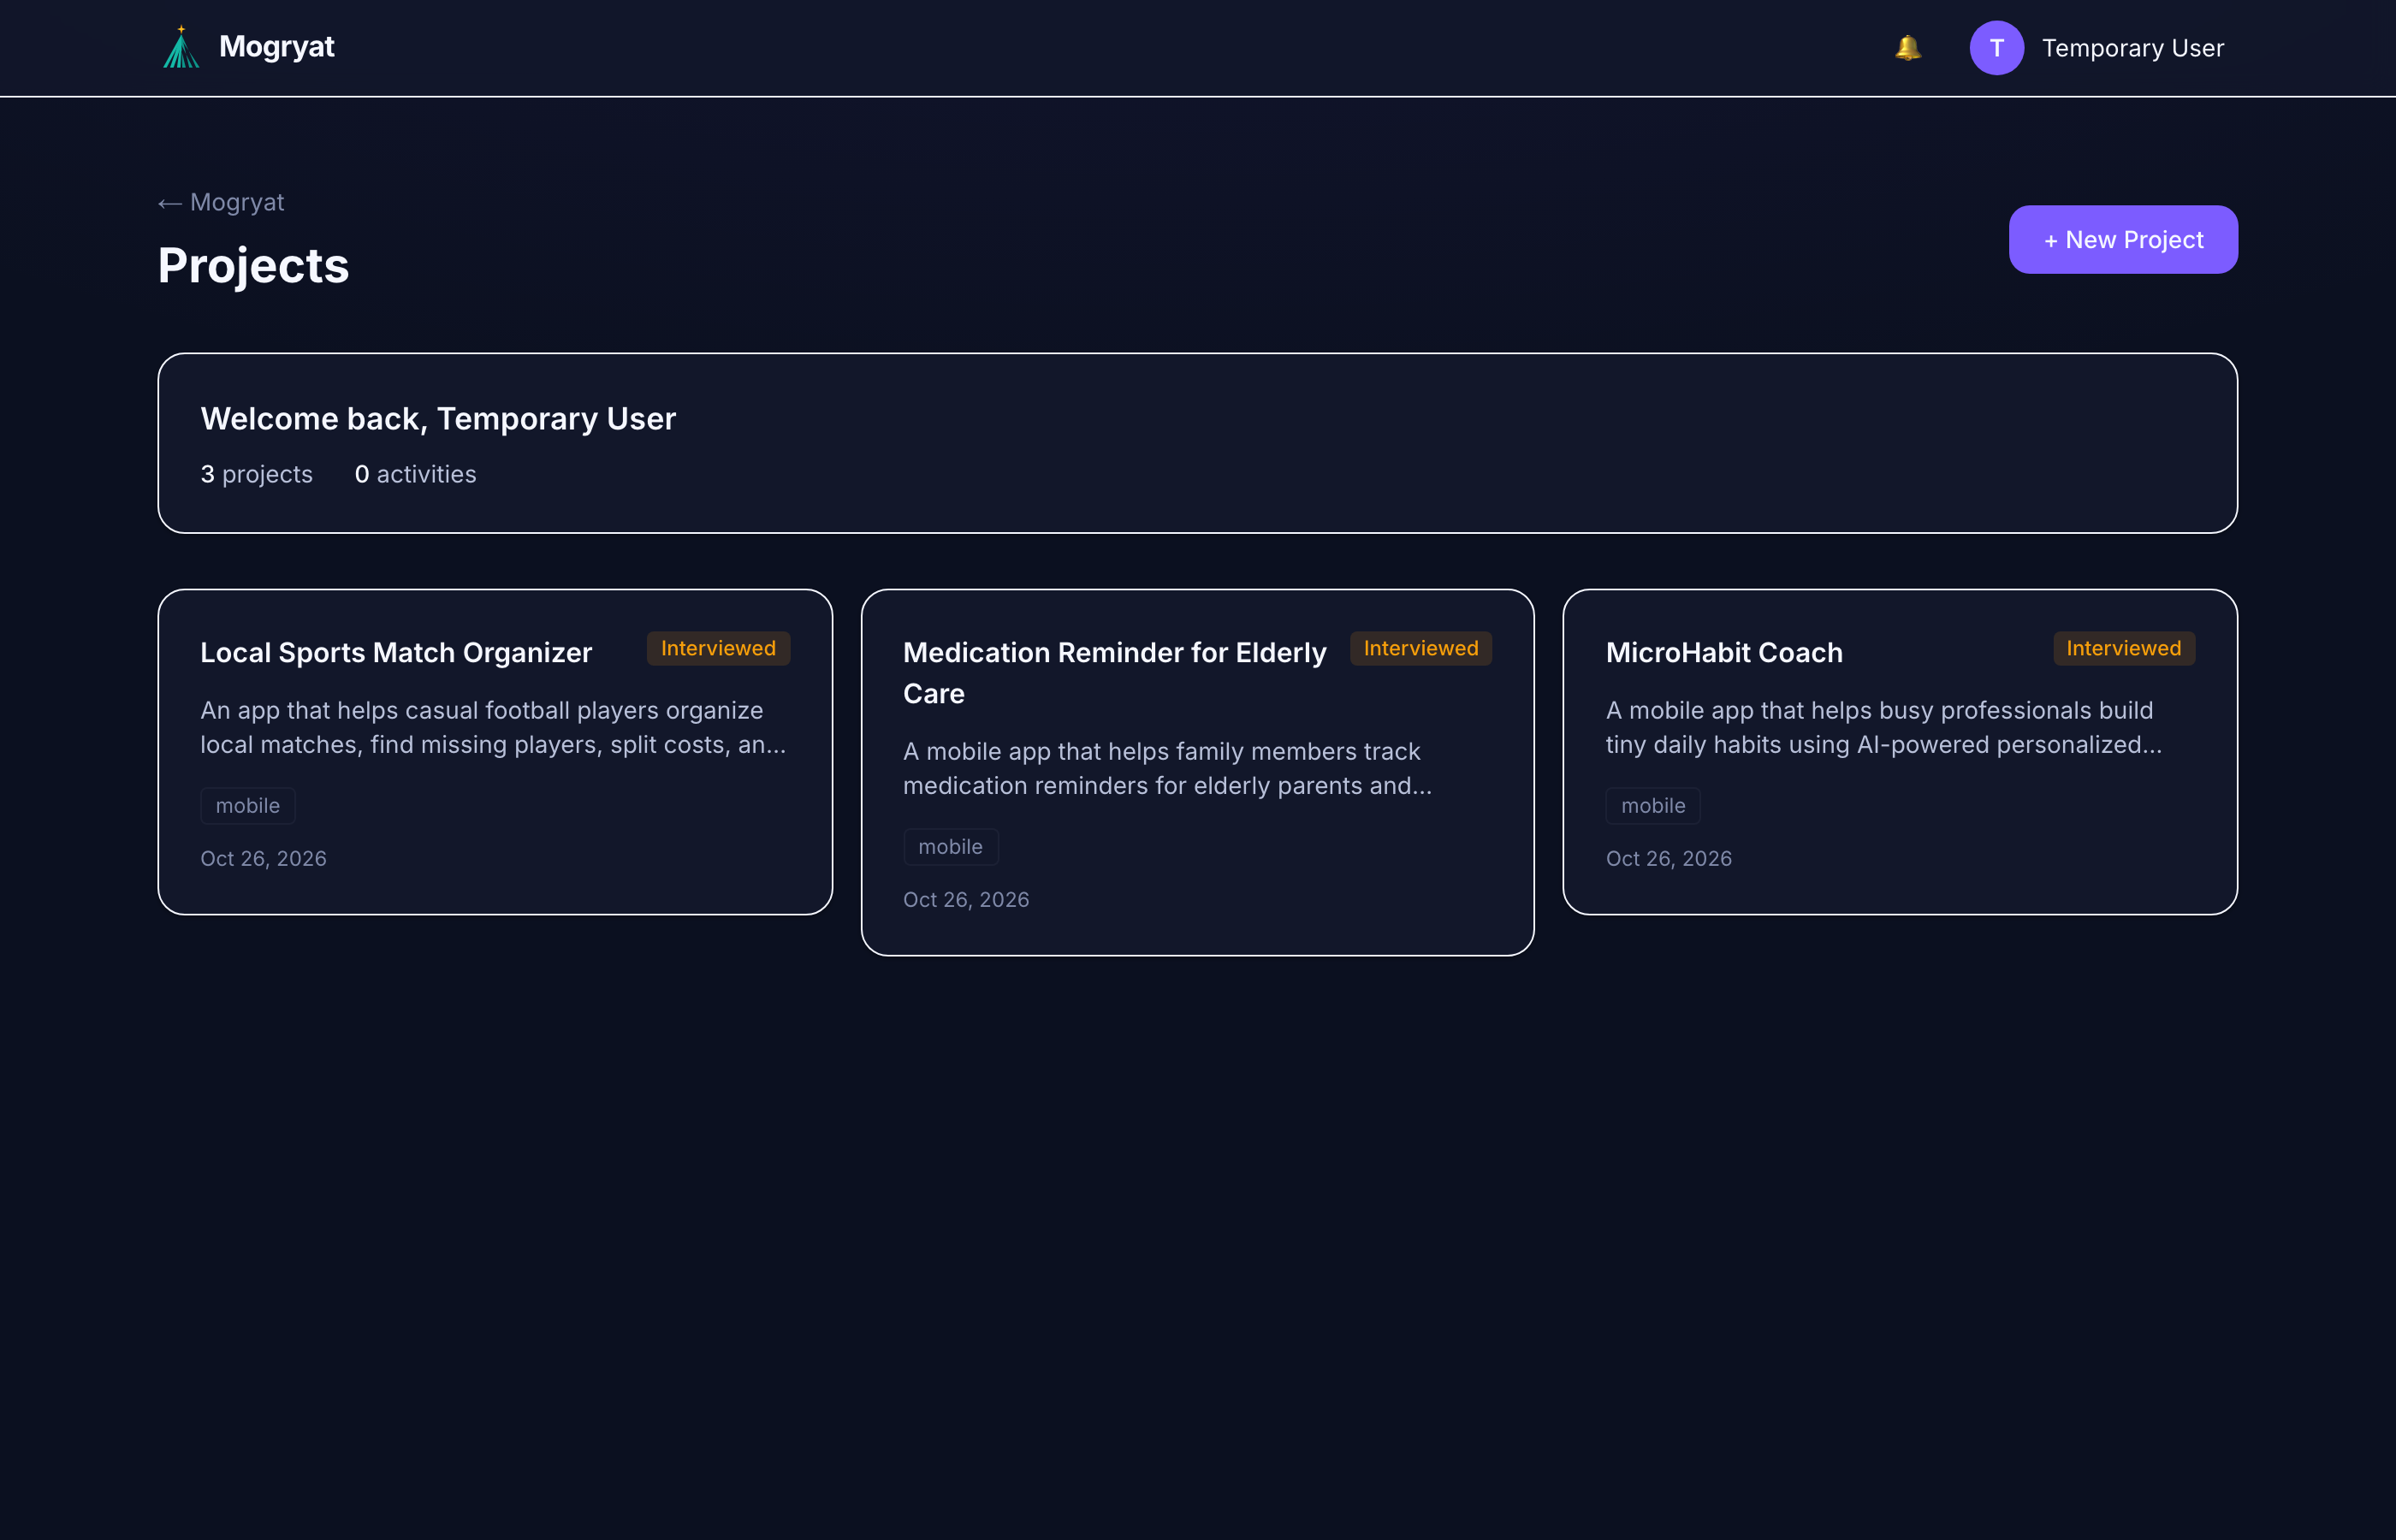
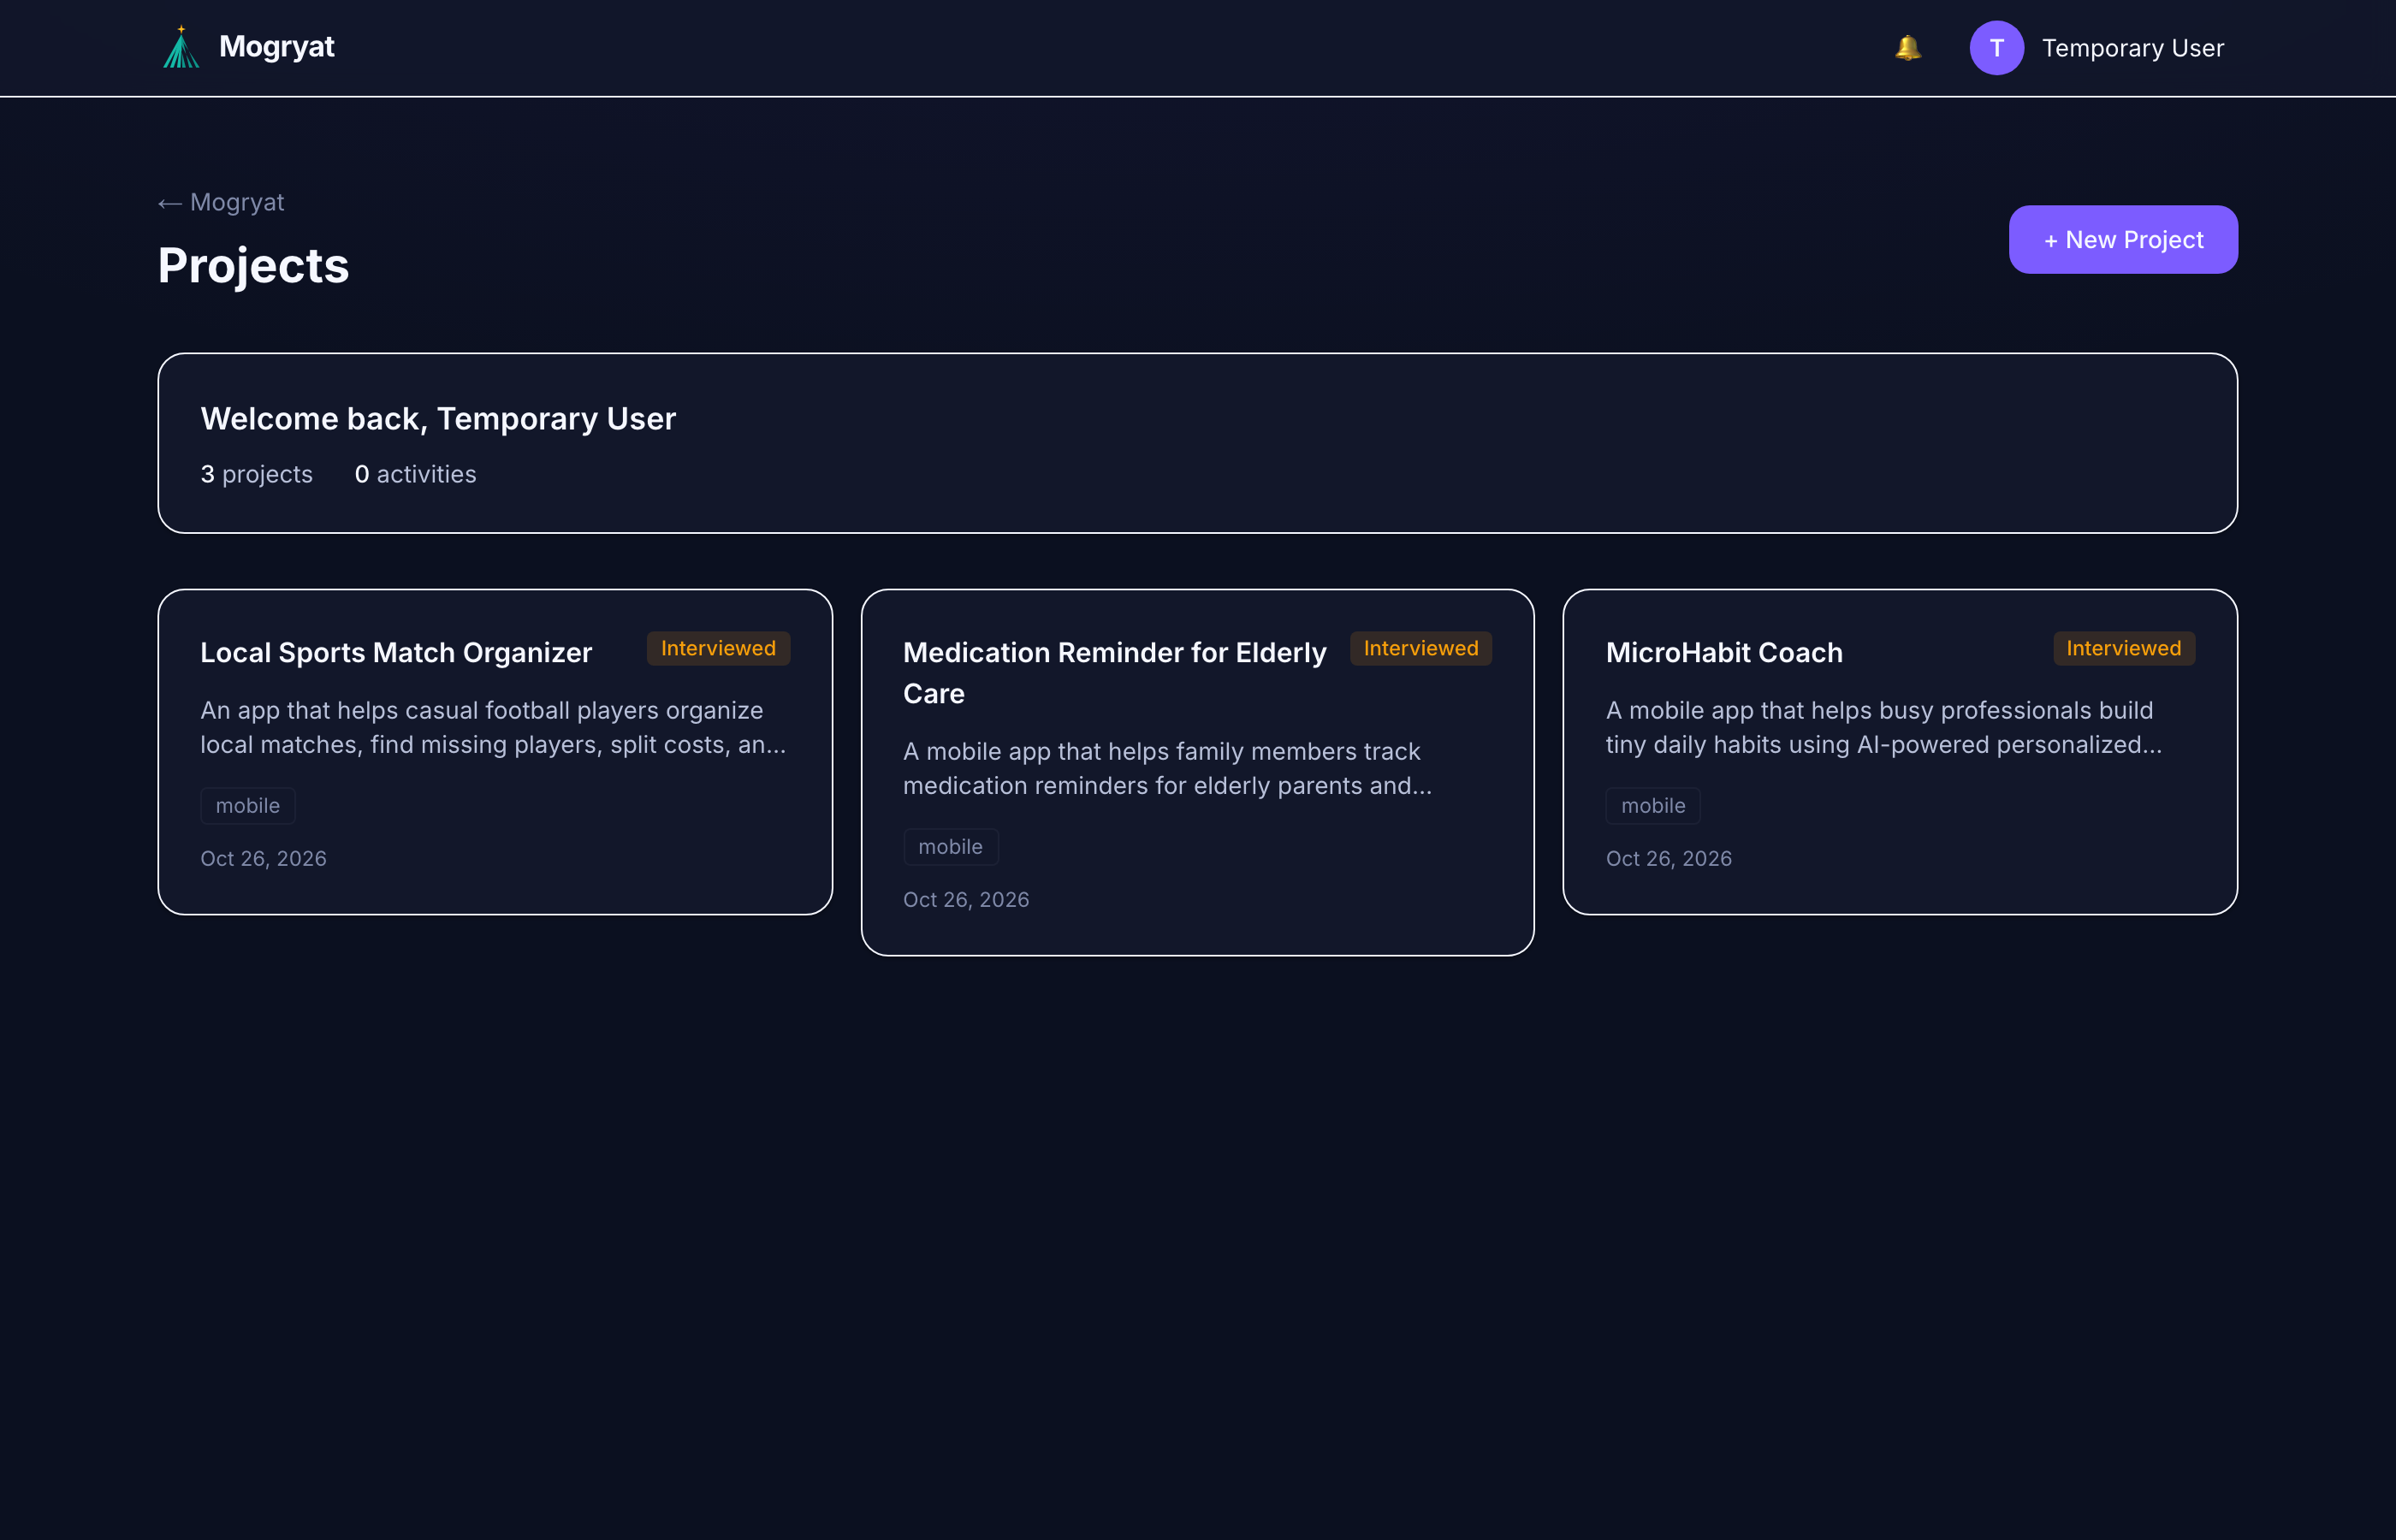
Step 2: Your Projects Dashboard
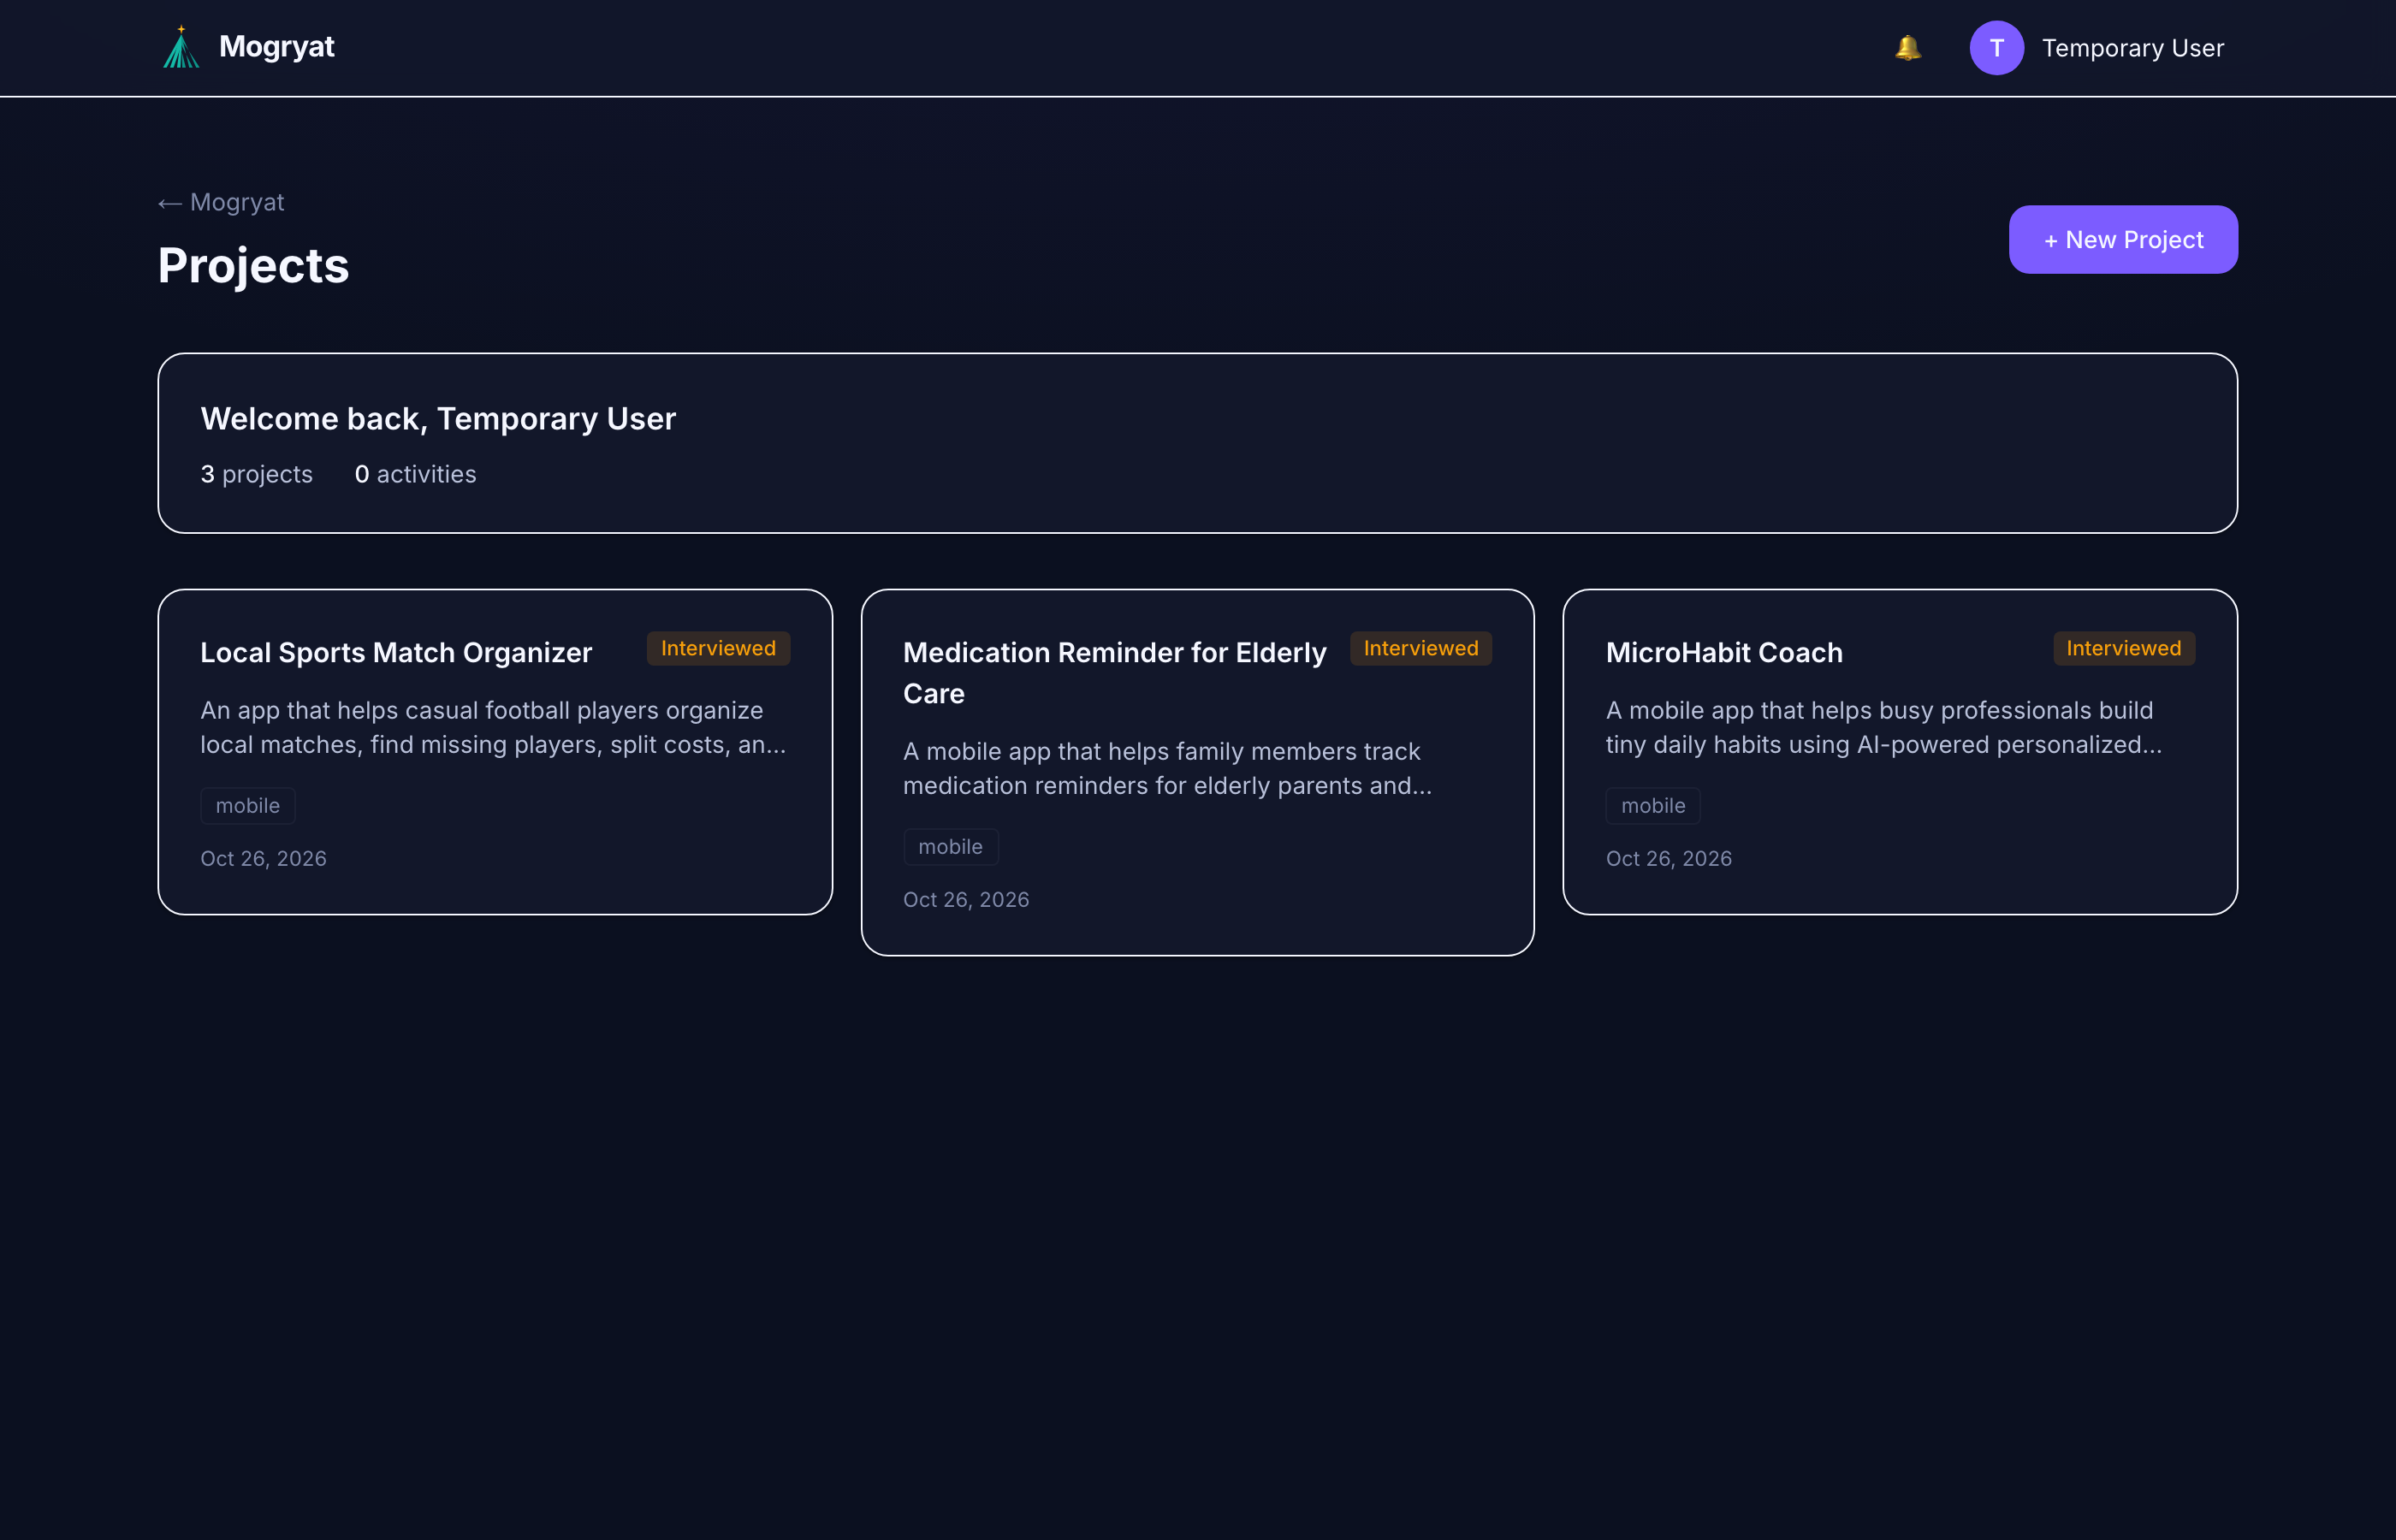
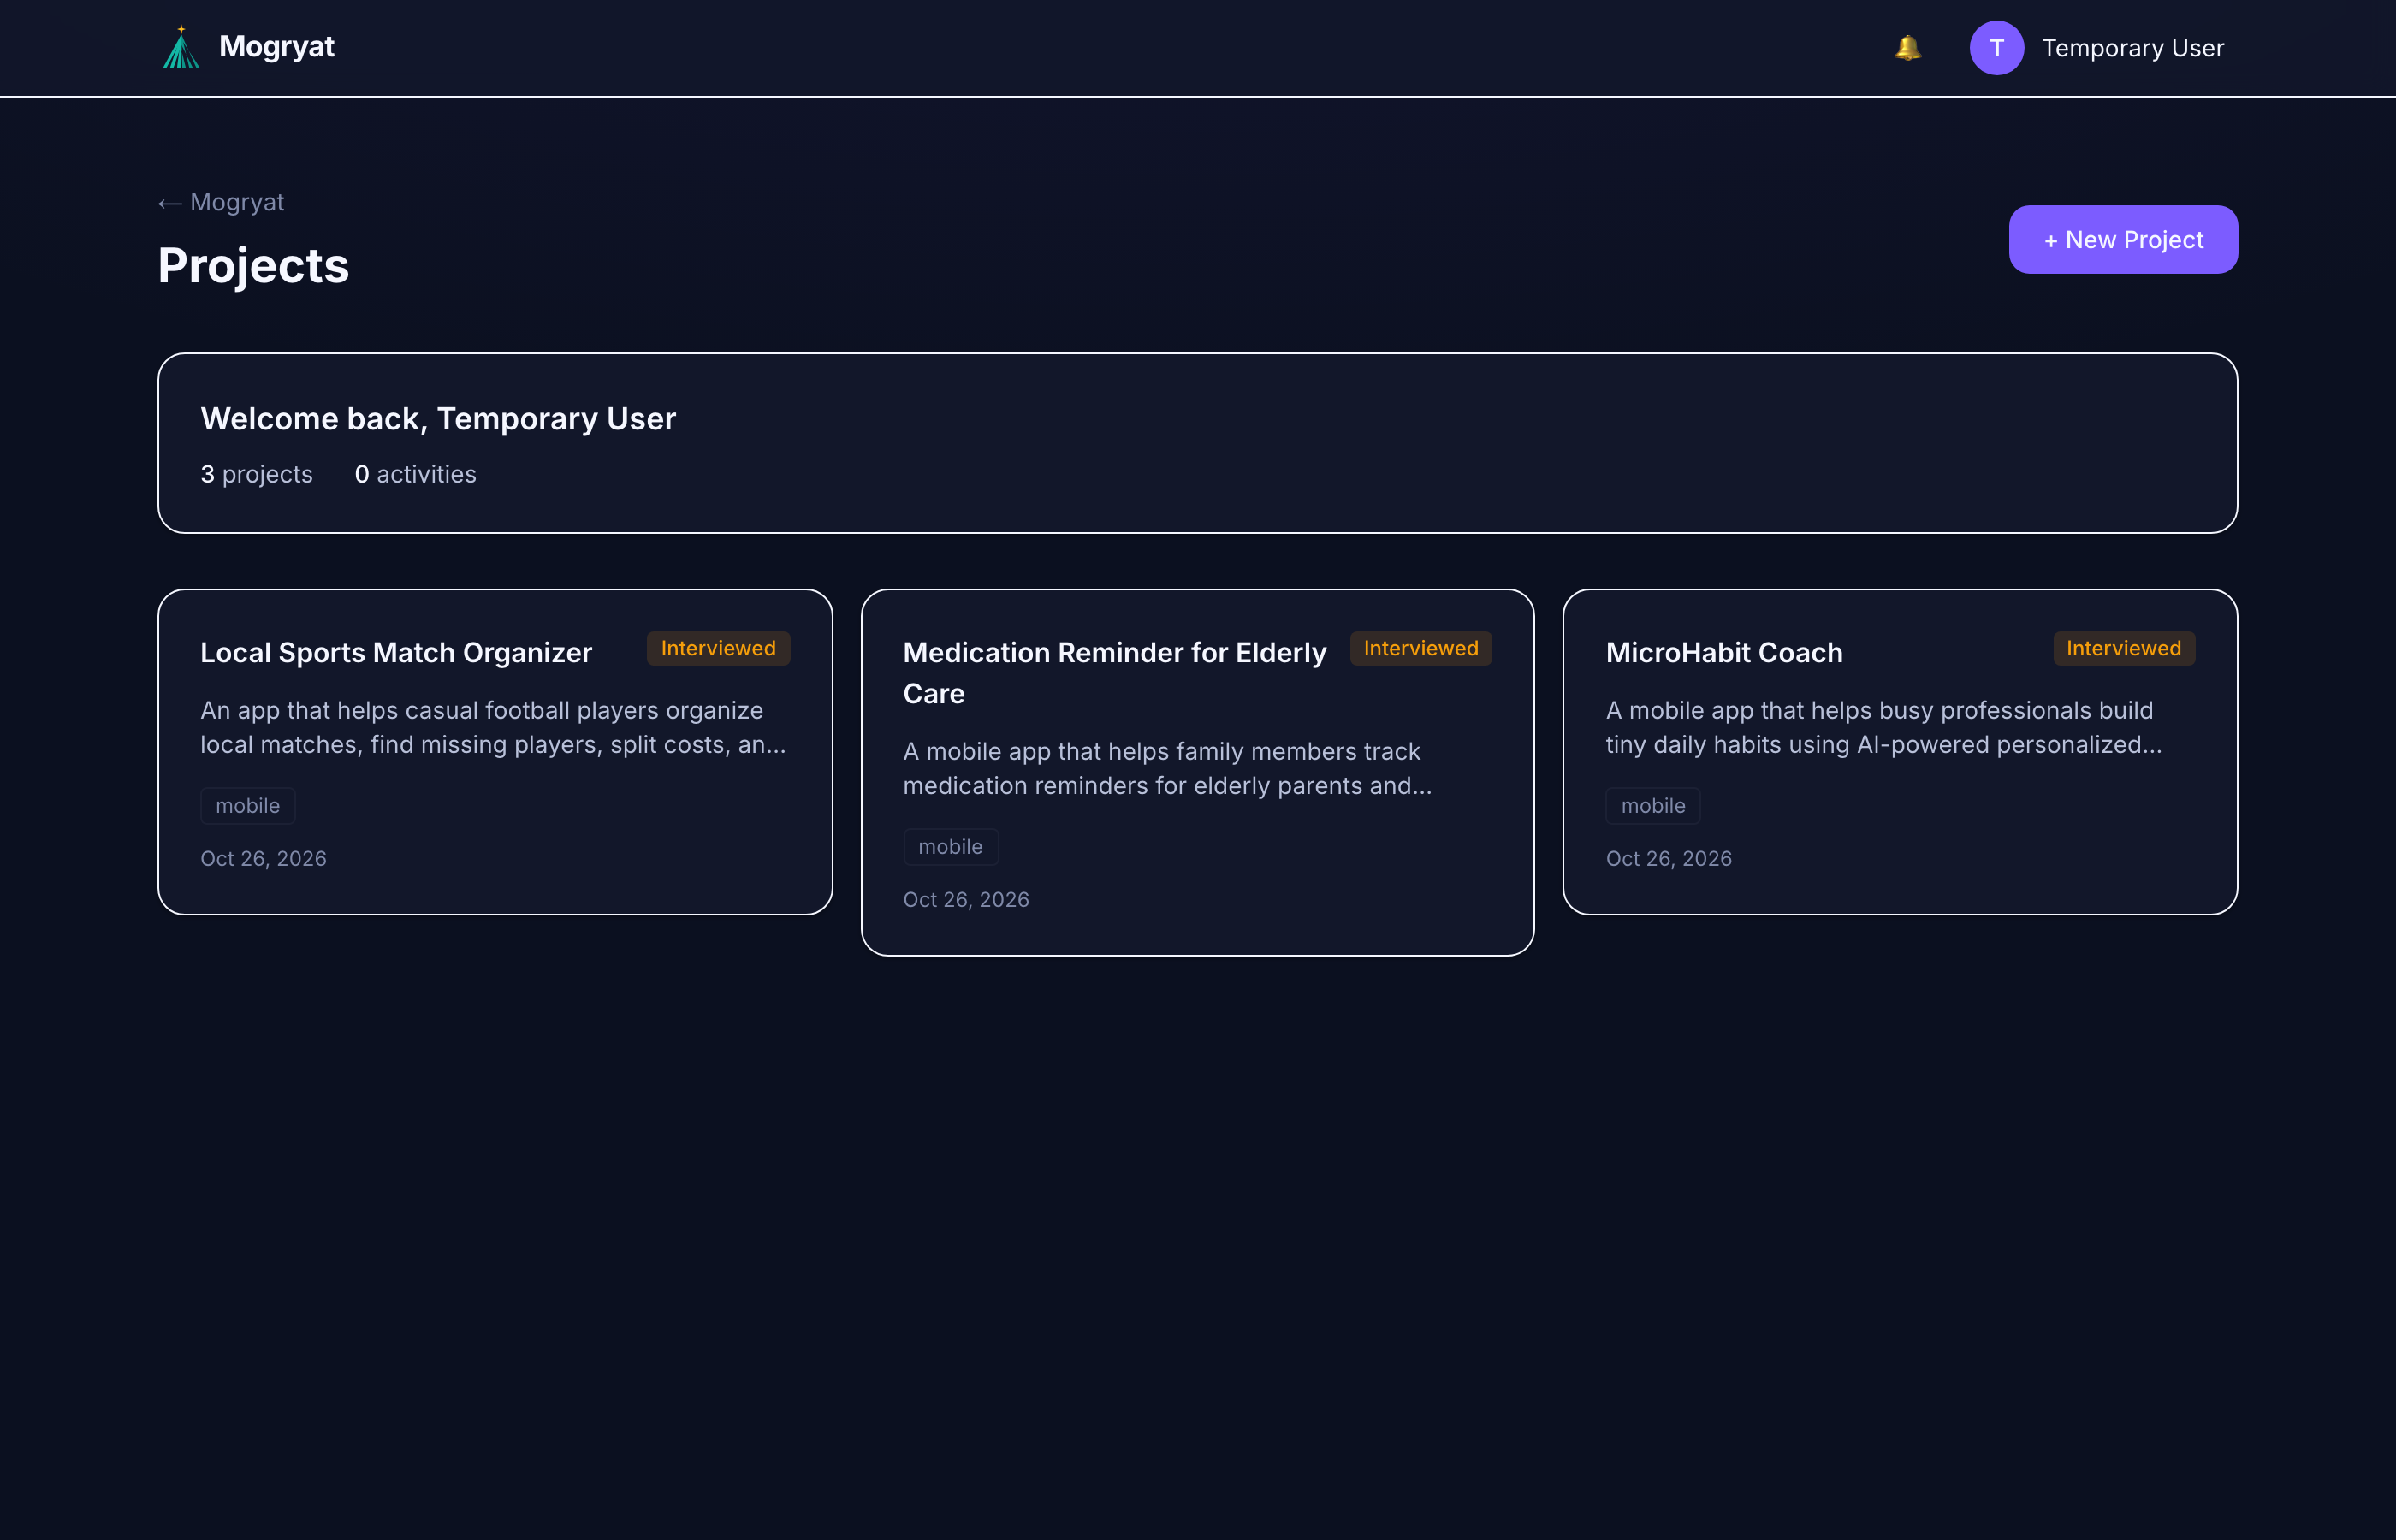
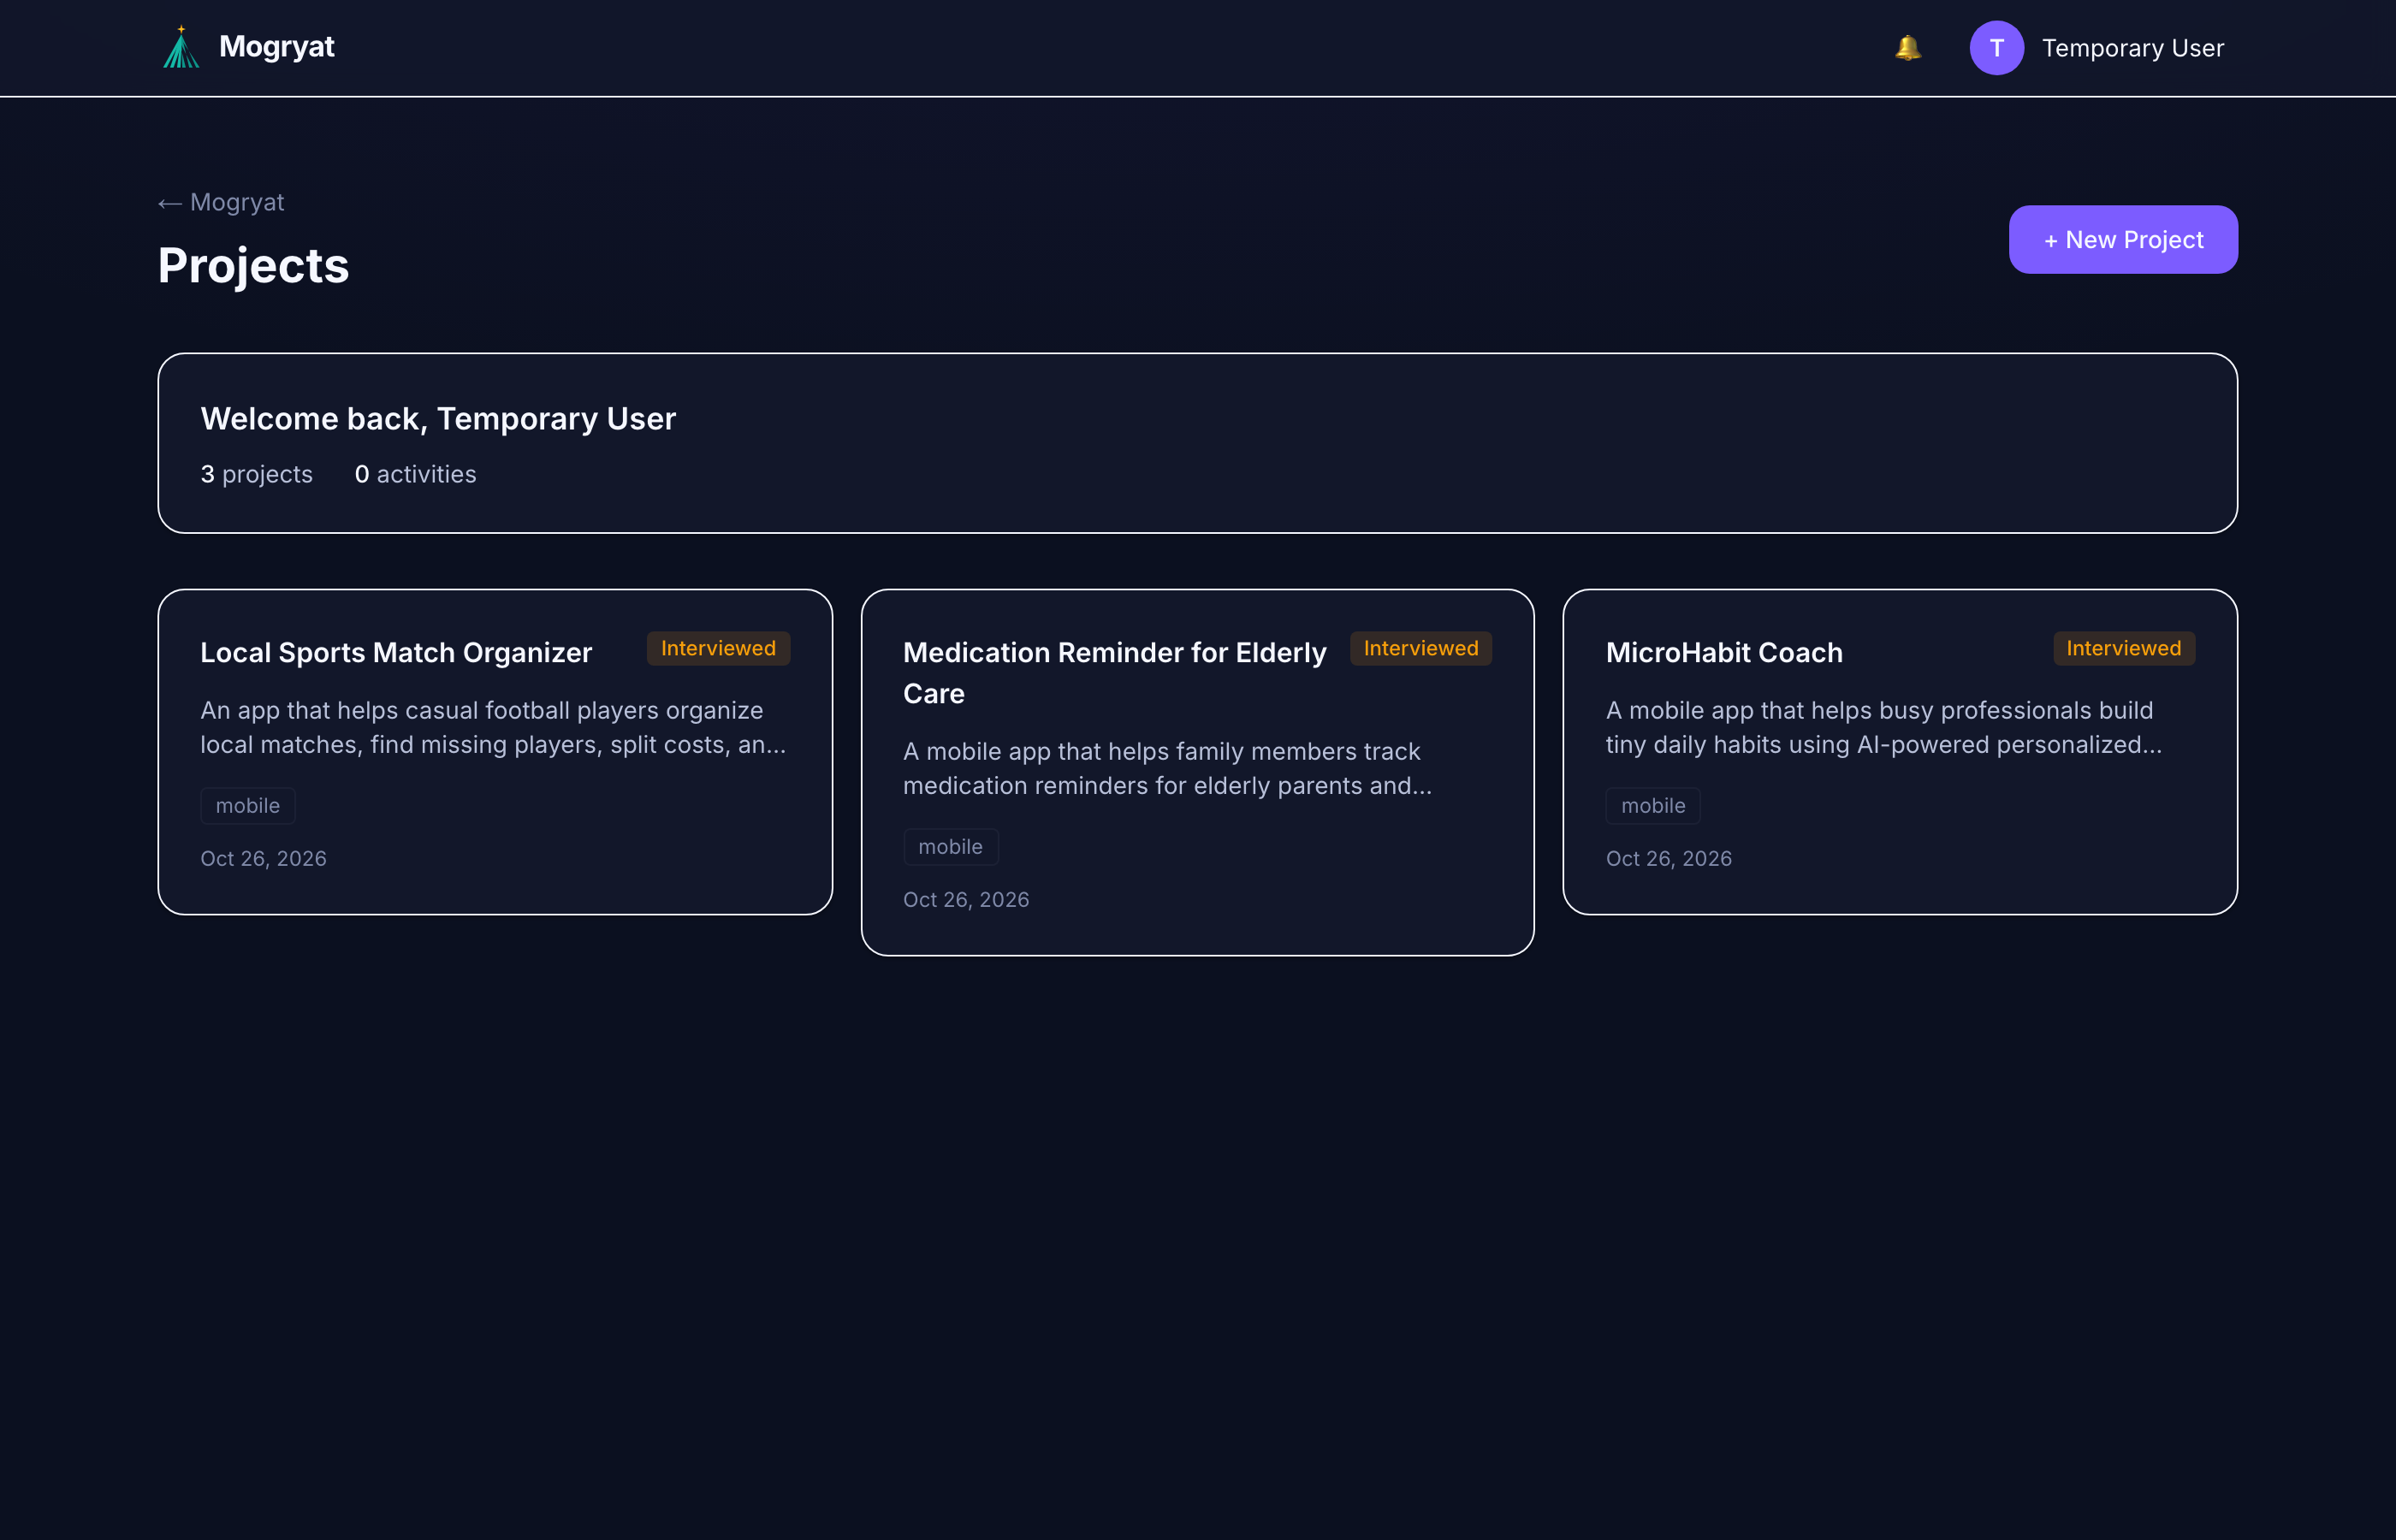
After clicking the demo button, you'll land on the Projects page. Here you can see all your projects at a glance.
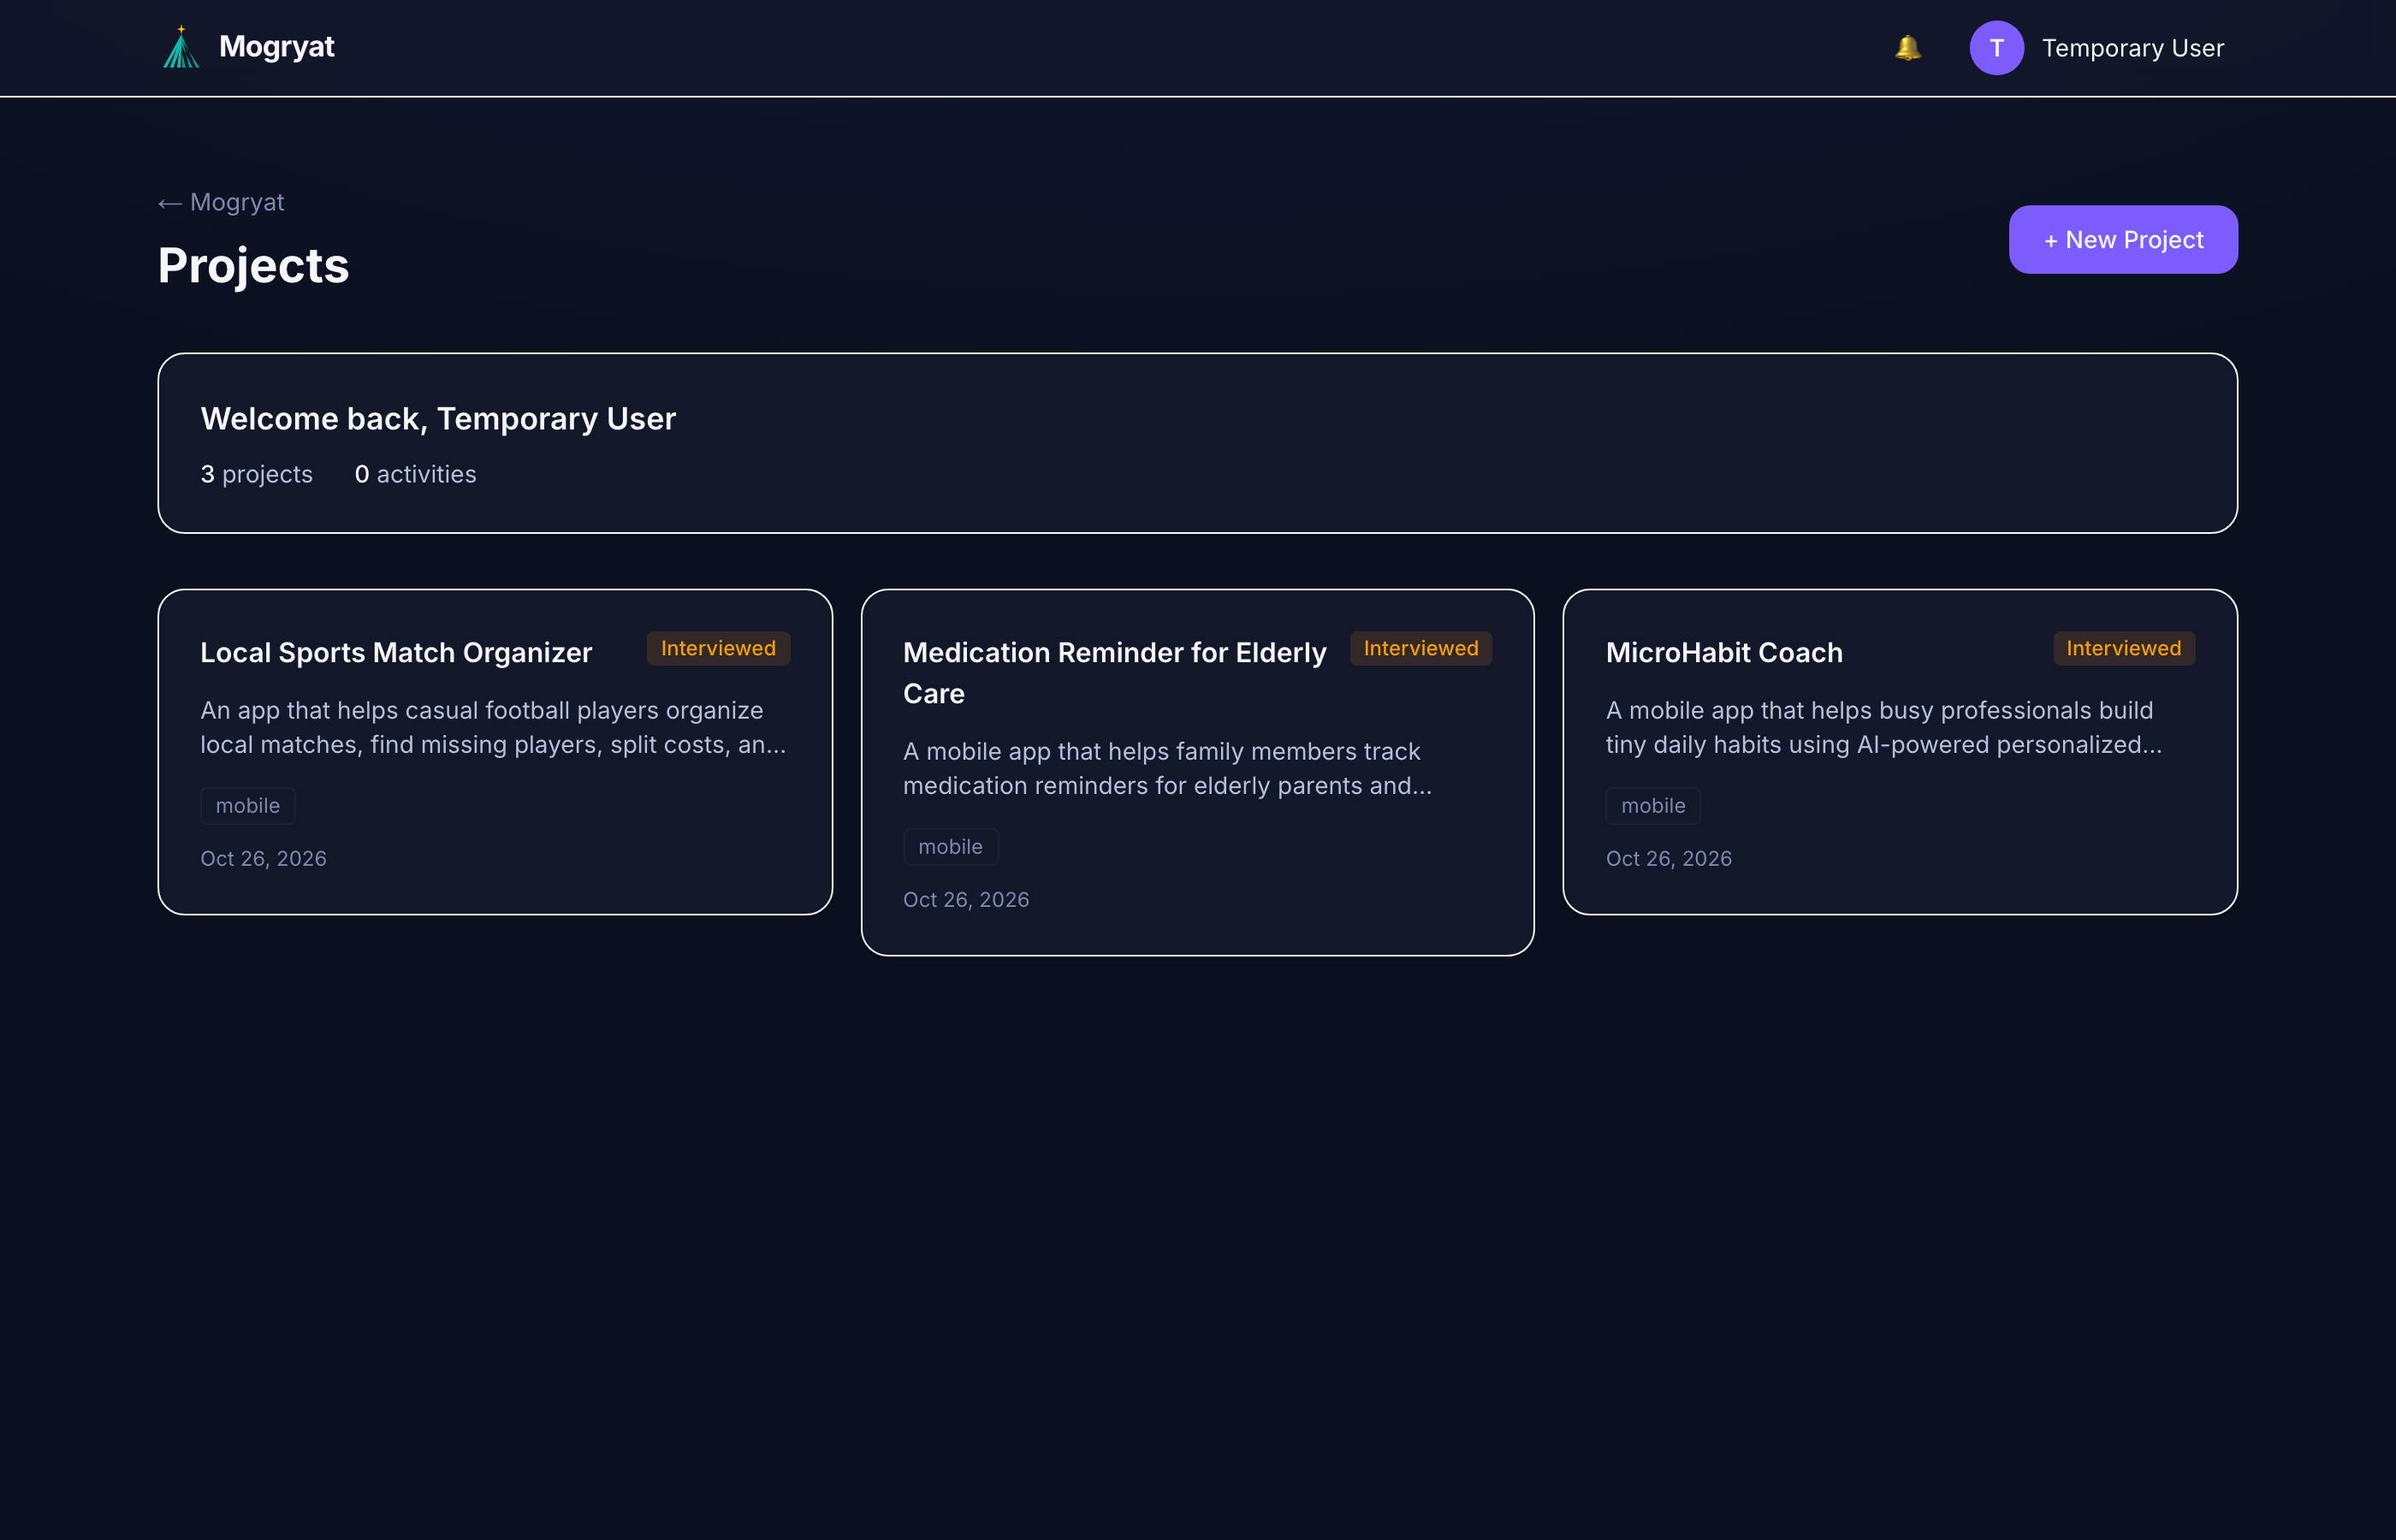
What you see:
- Project cards — Each card shows the project name, description, and progress
- New Project button — Create additional projects to experiment with
- Quick access — Click any project to dive into the details
- Status indicators — See which steps are complete at a glance
- Tab navigation — Switch between Brief, Requirements, Architecture, Tasks, and Feedback
- Action buttons — Generate or regenerate content for any section
- Problem statement — The core problem your app solves
- Target users — Who will use your product
- Key features — The essential functionality for your MVP
- Success metrics — How you'll measure if it's working
- Frontend framework — React, Next.js, Vue, etc.
- Backend approach — API structure, database choices
- Hosting recommendations — Where to deploy for your use case
- Why these choices — Reasoning behind each recommendation
- Submit issues or change requests
- Mogryat converts feedback into actionable tasks
- Watch your project evolve based on your input
- Full navigation via hamburger menu
- Touch-friendly task board with horizontal scrolling
- All features accessible on any device
- Check out our Product page for feature details
- Browse the Blog for tips and tutorials
- Contact us if you need help
Click on the demo project to explore its full workflow.
Step 3: Project Overview
The project detail page is your command center. It shows the current state of your project and provides quick access to all sections.
Key sections:
Step 4: The Product Brief
The Brief tab contains your AI-generated product brief. This is created based on your initial idea and the AI interview process.
What's in a product brief:
💡 Tip: The brief is editable. Click on any section to refine it based on your vision.
Step 5: Architecture Recommendations
The Architecture tab shows Mogryat's recommended technical stack for your project.
What you'll find:
Mogryat selects the architecture based on your project's specific needs — not a one-size-fits-all template.
Step 6: The Feedback Loop
The Feedback tab lets you provide input that shapes future iterations.
How to use feedback:
This creates a continuous improvement cycle — just like working with a development team.
Mobile-Friendly Experience
Mogryat works on your phone too. Access your projects anywhere with our fully responsive interface.
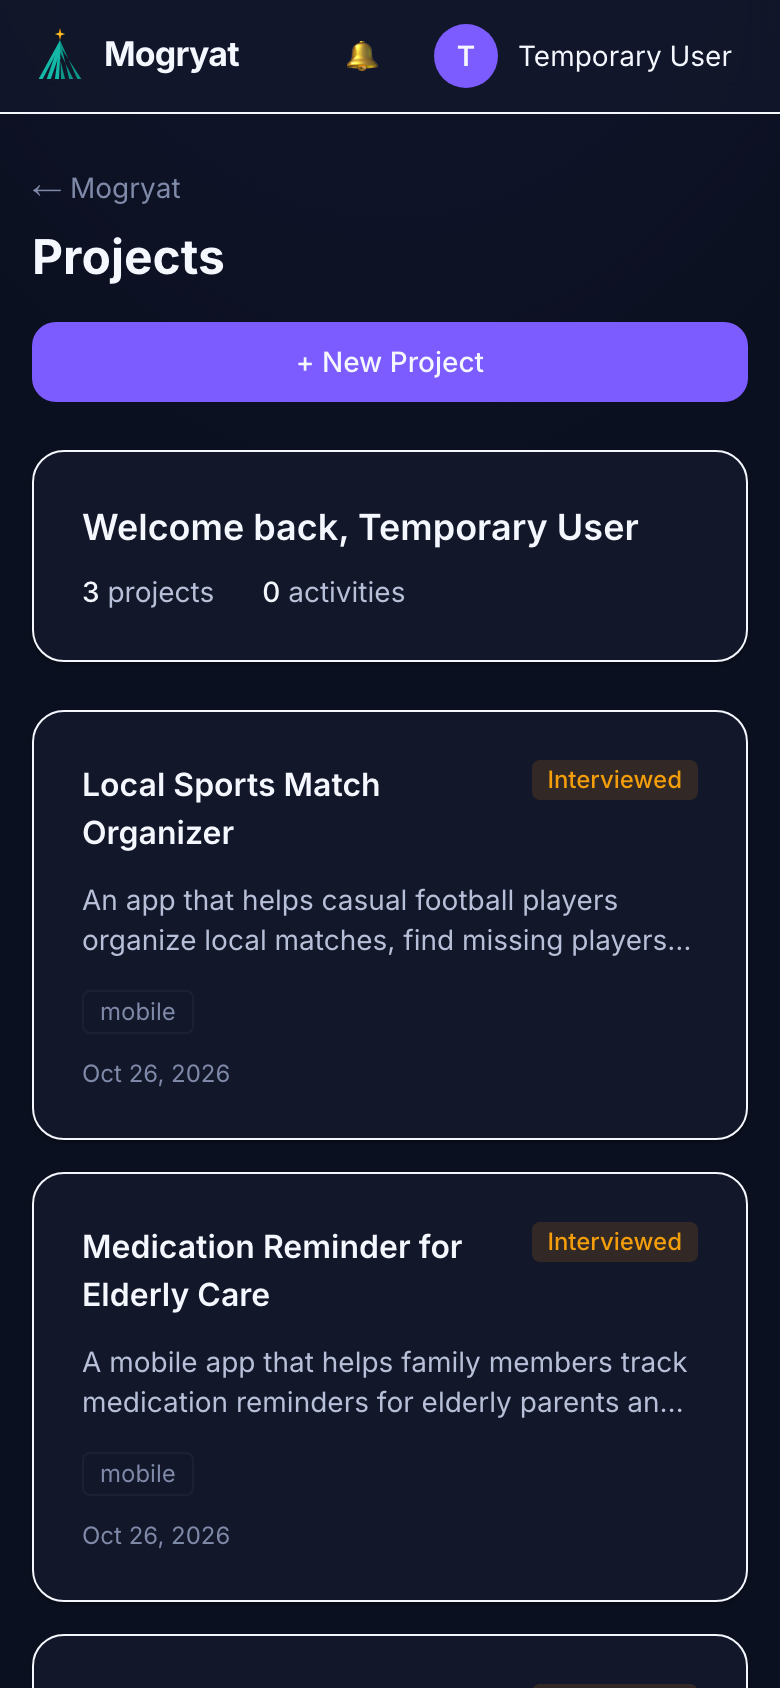
The mobile experience includes:
What's Next?
Now that you've explored the demo, you're ready to build something real!
Ready to Start?
1. Sign up for free — No credit card required
2. Create your first project — Just describe your idea
3. Let Mogryat guide you — From concept to deployment
Have Questions?
Summary
In just a few minutes, you've seen how Mogryat transforms a raw idea into:
✅ A structured product brief ✅ Technical architecture recommendations ✅ An actionable task board ✅ A feedback-driven iteration cycle
All powered by AI, all in one place.
Try the Demo Now!
Have feedback on this guide? We'd love to hear from you. Use the feedback feature in your demo project or reach out directly.